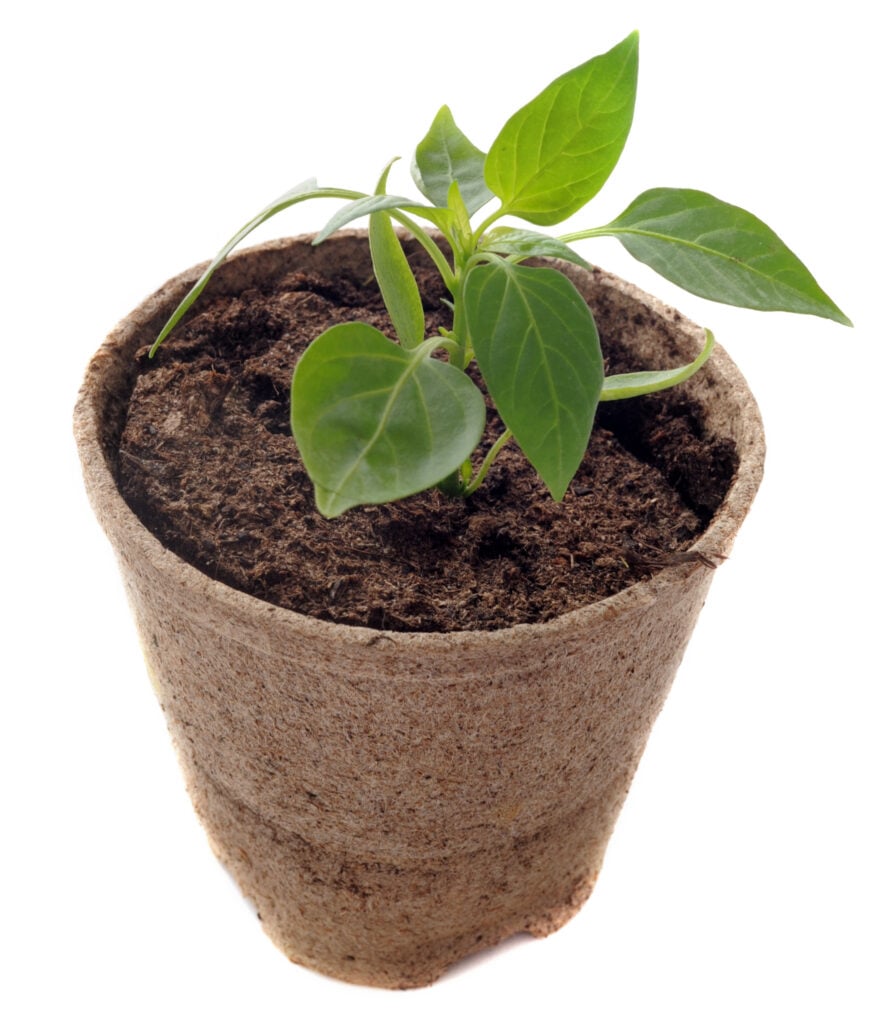
Transplanting pepper plants (potting up) is when you move seedlings to larger containers where they can continue growing. This process happens at least twice — indoors and outside. You’ll learn the why, when and how of potting up pepper seedlings in this step-by-step guide.

The thought of moving your plants can be nerve-wracking, especially when they’re small. It gets easier after you do this a couple of times.
But first, what happens if you don’t transfer pepper plants to bigger pots? You’ll get what’s known as “root-bound” plants. Essentially, roots become a tangled knot, growth slows way down and you won’t have healthy chillies.
And, now you may be wondering when it’s time to move your plants. We’ll go over the plan and step through how to transplant pepper plants indoors and into the garden.
Let’s get started!
When Can I Transplant Pepper Plants?

You can transplant pepper seedlings for the first time about 3 to 4 weeks after they germinate. At this stage, pepper seedlings are generally around two inches tall with four or more true leaves. (It’s also time to feed your seedlings if you’re not already doing this.)
» Related: When to Fertilize Pepper Seedlings
grow tips
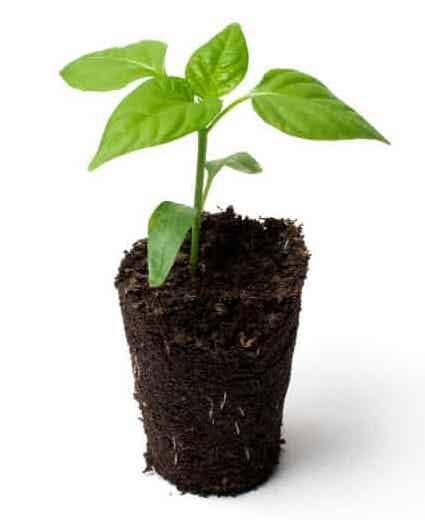
Knowing when to transplant bell pepper seedlings to bigger pots can be tricky. Bell peppers (and other large pepper varieties) won’t always have two sets of true leaves at this stage. Instead, check for roots poking through the bottom of the cell tray or current pot (see image below). You can transfer your seedlings when roots have grown down the length of the container.

Grow Hot Peppers is reader-supported. When you buy through links on our site, we may earn a monetary commission. Learn more.
What You’ll Need
When starting peppers from seed, you’ll transfer your plants indoors and again when they go outside. Below, are the supplies for both processes.
Indoor Supplies
Outdoor Supplies
- Fish emulsion fertilizer (or fertilizer for vegetables)
- 5-gallon or larger container
- Optional: Compost
grow tips
- Plant Label Alternatives: You can use tape and a marker to label your pepper plant pots.
- Indoor Container Alternative: Solo cups (16 oz) work great as a seedling’s first “pot.” Just make sure to poke holes in the bottom of the cup for drainage.
- Outdoor Container Alternative: If you’re short on outdoor space, you can use a space-saving container like an EarthBox. The original model holds up to six pepper plants in a 29-inch by 14-inch area.
Transplanting Pepper Plants Indoors Step By Step

Now that your pepper seedlings are ready for transplant, here’s how to move them to bigger pots indoors.
Supplies Needed:
1. Water your seedlings before the move.
If the seedling mix is dry, it’s likely to fall apart when you move it to its new pot. Give your seedlings water before continuing to the next step.
2. Moisten the new potting mix.
The new mix should be damp, but not completely saturated. You can do this by adding potting mix to a bucket, slowly adding water and mixing as you go. Add more soil if it drips water when you squeeze it.
When ready, you’ll be able to make a ball and the soil can keep the shape.

grow tips
Insect eggs are often found in potting mix and other growing media. You can pour boiling water (carefully) over the mix, or use a homemade neem oil spray to help manage bugs.
3. Prepare the new pot.
Add the new potting mix to your container so that it’s three-quarters of the way full. (Don’t forget to label the new pot!) Create a large hole in the center to make room for the pepper seedling.

grow tips
Make sure the hole is large enough so that you can place the seedling without crushing its roots.
4. Take the seedling out of the old container.
If possible, turn the container upside-down and then gently squeeze the bottom so that the seedling comes out. Otherwise, run the handle of a spoon around the edge of the mix, and then push up to move the plant.

5. Add the pepper seedling to the new pot.
Gently place the seedling in the new container. Then, lightly tap the soil down around the plant to help it make contact.

Add more mix to fill in any gaps around the plant. You can either bury the seedling up to the cotyledons or the first set of true leaves.

grow tips
If you’re potting up leggy pepper plants, bury them up to the first set of true leaves so that part of the stem is beneath the soil. Only do this deeper planting the first time when pepper seedlings are in the green stage. If you bury the stem when it’s woody (lignified), the stem can rot.
6. Water your plant to help it settle in.
Use a watering can or spray bottle to lightly water the mix on the top. (This isn’t a full watering.) Make sure you don’t get the leaves or stems wet.
grow tips
You may need to transfer your pepper seedlings more than once while indoors. (It depends on how long they’ll be inside.) If you see roots growing through the bottom or the pepper’s growth seems stunted, transfer your plants to a larger pot like a 6 or 8-inch container.
How Big Should Pepper Plants Be Before Transplanting Outside?

Pepper plants are usually a few inches tall when they are ready to go outside. They’ll typically be at this height after your plants have been growing indoors for 2 to 3 months.
Besides size, it’s important to make sure that the last expected threat of frost has passed. (Ideally, it’s 2 to 3 weeks past the last frost date to be safe.) You can get these dates using the calculator below.
Enter your zip code or city, state to get your last frost and outdoor transplanting dates.
Note: Frost dates are just estimates and are not guaranteed to be accurate. Always check your local weather report.
grow tips
Most Important: Harden off your pepper plants before moving them outside!
How To Transplant Peppers Into The Garden

You can safely move your pepper plants outdoors after they’ve been hardened off and nighttime temperatures are consistently above 55 degrees Fahrenheit (13 degrees Celsius). Here’s how to transplant peppers outside.
Supplies Needed:
- Soil volume calculator (find out how much soil you’ll need)
- Potting mix
- 5-gallon or larger container (one for each plant) OR EarthBox original (for six plants)
- Fish emulsion fertilizer (or fertilizer for vegetables)
- Compost (optional)
1. Harden off your pepper plants before moving them outside.
If you haven’t already done so, harden off your peppers. Do this at least two weeks before you want to transplant them into the garden. This process gets your plants used to outdoor elements like the sun and irregular weather so that they don’t get sick (or die) when they first go outside.
2. Prepare the outdoor container.
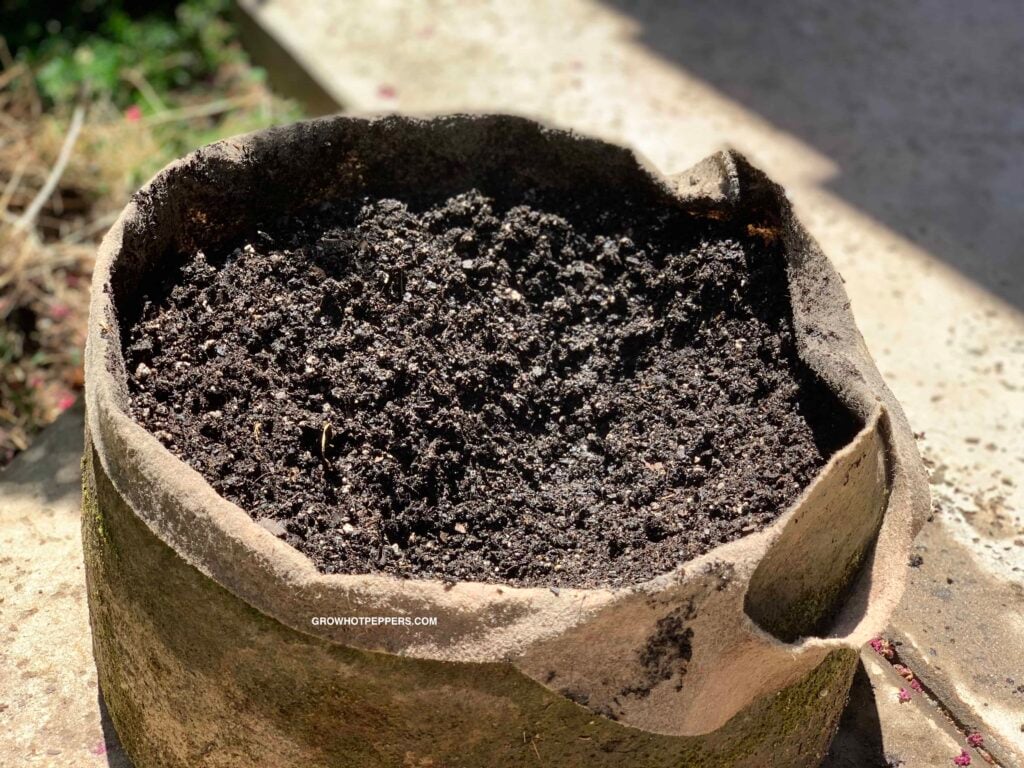
Add potting mix to your outdoor container and water as you go so that the mix is damp, but not saturated. Leave about 2 inches empty at the top of the pot.

grow tips
If you’re planting peppers in an EarthBox, be sure to follow the instructions that come with this growing system.
3. Enhance your potting soil.
Add fertilizer to your potting mix by following the instructions on the bottle. You’ll typically use 1/2 strength for potted plants unless the bottle says otherwise.
Afterwards, create a space for your plant and drop some compost in this hole. Compost is optional, but it’s an ideal way to give your plant extra nutrition as it grows.
4. Place your pepper plant in the new pot.
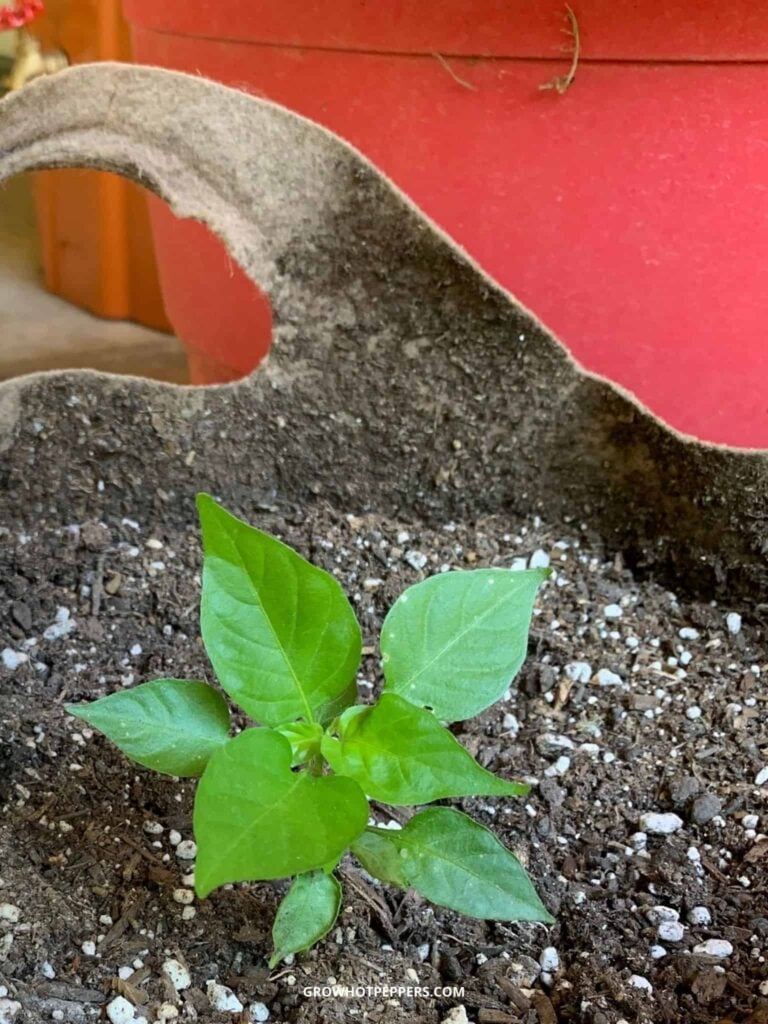
Position your pepper plant in the space you created. (The planting depth should be the same as it was in its previous pot.) Add more mix to level it around the plant.

grow tips
You can add compost to the top of the mix to act as a mulch. Besides providing nutrients, it also helps with moisture retention and protects plant roots against harsh temperatures.
5. Water the top of the mix to help plants adjust.
Lightly water your pepper plant around the root zone to help it settle in. You can also do this light watering later in the day to make sure roots have easy access to water on their first day out.
6. Position your pot in an area that gets 8 hours of sun a day.
In my opinion, pepper plants grow best with 8 hours of sun each day. If that’s not possible, make sure plants get at least 6 hours of sun at a minimum.

6. Continue watering your plants when they get dry.
Droopy, withering leaves are a sign that your pepper plant needs water. If you don’t have an automatic watering system, you can water your potted plants by running a hose over the top layer of soil. Stop when you see the water coming out of the bottom of the container.

7. Continue to feed your plants throughout the growing season.
Check your fertilizer container for instructions on when and how much to feed your plants. This fertilizing pepper plants guide has more tips on how to do this.
grow tips
Try to pick a mild, cloudy day when transplanting pepper plants to bigger pots. It just makes it easier for your plants to transition outside.
Pepper Transplant Shock

When moving peppers to new pots, they might experience stress known as “transplant shock.” Some signs of pepper transplant shock are wilting and sagging. This shock happens when plant roots are disturbed, and it can show up in 15 minutes or so.
You can prevent transplant shock by taking care not to disturb the roots during the move. In other words, don’t push or press the plant in the new pot because that compresses the roots. After the transfer, it helps to lightly water the top of the soil to help the roots settle in.
To fix transplant shock, you can gently remove the plant from the new pot and create a wider, deeper space in the new container. Place the seedling back, add more mix and then lightly water the top.
grow tips
- If roots are tangled at the bottom (rootbound), you can gently tease apart the roots with your fingers before transplanting.
- It may take a day or two for pepper plants to show signs of recovery.
- Pepper plants can also experience transplant shock if they’re not hardened off before going outside. Put your plants in the shade to recover, or bring them back inside if a frost is coming.
FAQs On Transplanting Peppers
What’s Next?
Hopefully, you’ll find transplanting pepper plants a bit easier after going through these steps.
If you haven’t already done so, the next step is to toughen up your plants. Here’s the hardening off pepper plants guide that explains how to prepare your chillies for living outside during the growing season.

How To Transplant Pepper Plants Indoors & Into The Garden
As your pepper plants mature, they'll need larger pots to keep growing while they're indoors and when they go outside. Here's how to transplant pepper plants for each growth stage.
Materials
- Potting Mix
- 3 to 4-inch Containers
- Plant Labels
- Fish Emulsion Fertilizer (or fertilizer for vegetables)
- 5-Gallon or Larger Container
- Optional: Compost
Instructions
Transplanting Indoors
- Water your seedlings so that the mix doesn’t fall apart when you move your plants.
- Moisten the potting mix so that it’s damp and not dripping wet. (You should be able to make a ball with the mix and it holds its shape.)
- Fill your pots with the mix so that it’s about 75% full. Label your plant containers.
- Make a deep hole in the center of the mix to make room for the pepper seedling. (This should be a big enough space so that you can position your plant without crushing its roots.)
- Gently squeeze the bottom of your insert or container to push the seedling up and out. (If possible, turn the container upside-down to help.) You can also run the handle of a spoon along the outside edge of the mix, and then make an upward scooping motion to move the seedling out.
- Grasp the sides of the mix -- gently -- and position the seedling in the new pot. Lightly tamp down the soil to help your plant make contact with its new environment.
- Fill the remaining space in the pot with more mix. You can bury the seedling up to the cotyledons or the first set of true leaves for a deeper planting.
- Water the mix lightly on top to help your seedling settle in. Take care not to spray the leaves or stems with water.
Planting Outside
- Harden off your pepper plants if you haven't already done this.
- Add potting mix to the container leaving the top 2 inches empty. Water the mix as you go so that it’s hydrated, but not dripping wet.
- Follow the fertilizer instructions on the bottle to add it to your mix.
- Create a hole in the center of the mix so that it's planted as the same depth as the previous pot. (Optionally, drop some compost in this hole.)
- Place your pepper plant in the hole and fill it in with the mix so that it’s level around your plant. (You can also add more compost to the top so it acts as a mulch.)
- Water around the root zone to help your pepper plant settle in.
- Place your pot in a spot where it can get 8 hours of sun a day.
- Continue to water when your plant gets dry (the leaves start drooping). Run a hose over the top layer of soil until you see water coming out of the bottom of the pot.
- Continue to feed your plant by following the instructions on the bottle. Here are some more tips for fertilizing pepper plants.
Notes
- Plant Labels: Instead of labels, you can use tape and a marker to identify your pots.
- Indoor Containers: Solo cups (16 oz) work well as the first "pots" for your pepper seedlings. Be sure to poke holes at the bottom for drainage.
- Indoor Transplanting: You can bury seedlings up to the first set of true leaves during the first move while they're green. This helps with legginess. Don't do a deeper planting on older pepper plants with woody stems.
- Outdoor Containers: If you don't have a lot of garden space, you can use a multi-plant container like an EarthBox. The original model can accommodate up to six pepper plants in a 29" x 14" space.
Recommended Products
As an Amazon Associate and member of other affiliate programs, I earn from qualifying purchases.
-
 FoxFarm Qt FX14053 Ocean Forest Soil Bag, 12 Quart, Pack of 1, Brown
 -
 McCONKEY Square Nursery Pot, Case of 60
 -
 Neptune's Harvest Fish & Seaweed Fertilizer 2-3-1, 18 Ounce
 -
 Smart Pots 5-Gallon Smart Pot Soft-Sided Container, Black with Cut handles
 -
 EarthBox 80155 Garden Kit, Organic, Terracotta
 -
 The Pepper Seed-Starting Guide
More In This Series:
- How to Care for Pepper Seedlings after Seeds Sprout
- Pinching Pepper Plant Flowers: Should You Do It & How It’s Done
- When to Pick Peppers (& How) + 2 Ways to Store Your Chillies
- Growing Peppers from Seed to Harvest – The Ultimate Guide
- 25 Best Companion Plants for Peppers + What to Avoid [Printable Chart]

