When it comes to growing your own food, you might think you need lots of outside space, sun and time (traditional gardening). Hence, this how to grow vegetables indoors for beginners guide is here to help.
As newbie gardener, I want to make sure that you know you can grow sprouts and microgreens inside, year round and you don’t even need soil!
This page is designed to give you an introduction to sprouts and microgreens so you understand what they are, how they grow and ways you can incorporate these little plants into your diet.

About Growing Veggies Indoors As A Beginner
Before we continue, I just want to mention that you have a lot of options when it comes to growing food indoors. The reason I recommend sprouts and microgreens — especially when you’re new to gardening — is because you will produce nutritious food with little time and cost investment.
There is also a huge learning curve to growing food. It helps to be successful right away so you don’t falsely believe that you have a black thumb. 😉
Grow Hot Peppers is reader-supported. When you buy through links on our site, we may earn a monetary commission. Learn more.
Benefits of Growing Sprouts & Microgreens
Growing sprouts and microgreens is an effective way to grow nutritious produce at home. Here’s why they’re awesome for growing as indoor vegetables:
- You don’t need soil
- You can use a simple artificial light if you don’t have sunlight. (Microgreens need light, but sprouts don’t.)
- You can grow these foods indoors and year round
- You don’t need a lot of space
- You don’t need to spend lots of time setting things up. (Also, you’ll only need a few minutes each day to care for your food as it grows.)
- You don’t have to worry about fertilizing, pest control or other tasks associated with growing vegetables to maturity because you’re eating these plants at an early stage.
- The grow time is QUICK! You’ll be able to eat your sprouts within a few days, and microgreens are usually ready in 2 to 3 weeks.
and most importantly…
- There are major health benefits when you eat sprouts and microgreens. Sprouting, for instance, breaks down anti-nutrients and makes foods easier to digest. And, microgreens contain even more minerals, vitamins and antioxidants than when fully grown. [source, source]

Differences Between Sprouts and Microgreens
Both sprouts and microgreens are eaten as baby plants before they mature, but they are not the same thing. The main differences are in the way that sprouts and microgreens are grown and the stage that they’re eaten.
Here’s a quick breakdown…
Sprouts:
- Sprouts are grown in water (for example, in glass jars).
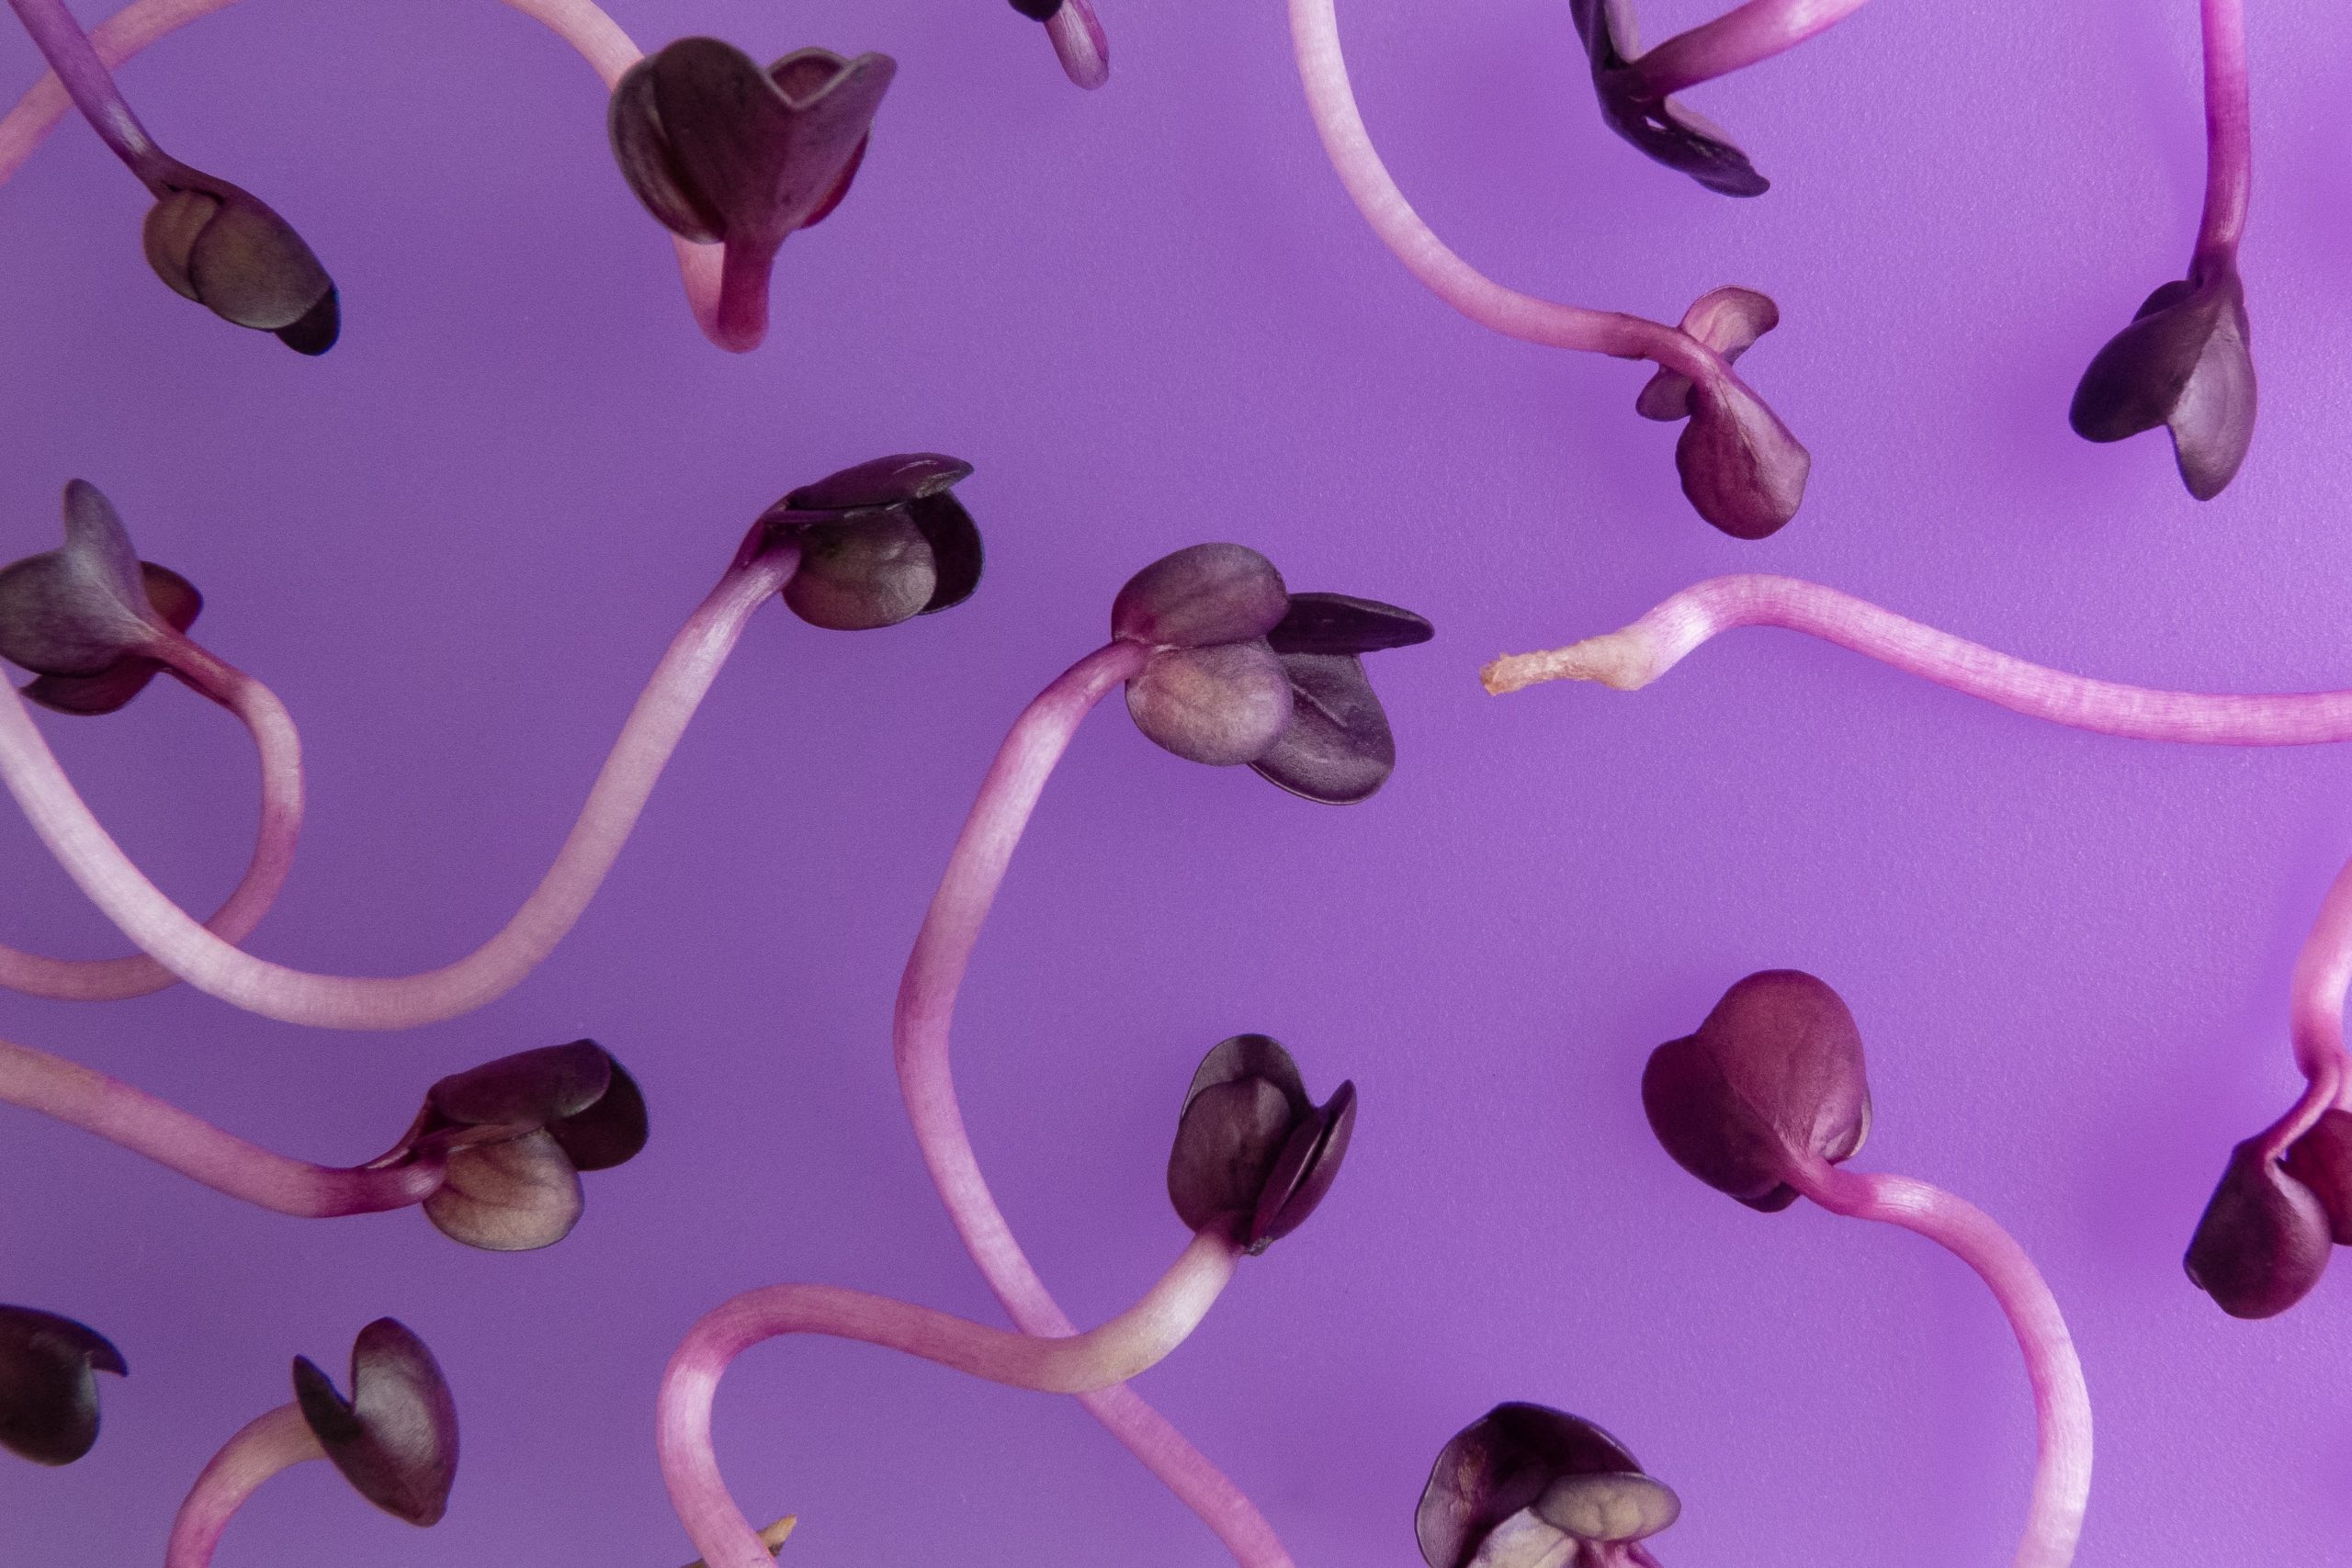
- Sprouts are eaten shortly after the seed germinates (starts becoming a plant). You’ll have sprouts for eating within a few days.

Microgreens:
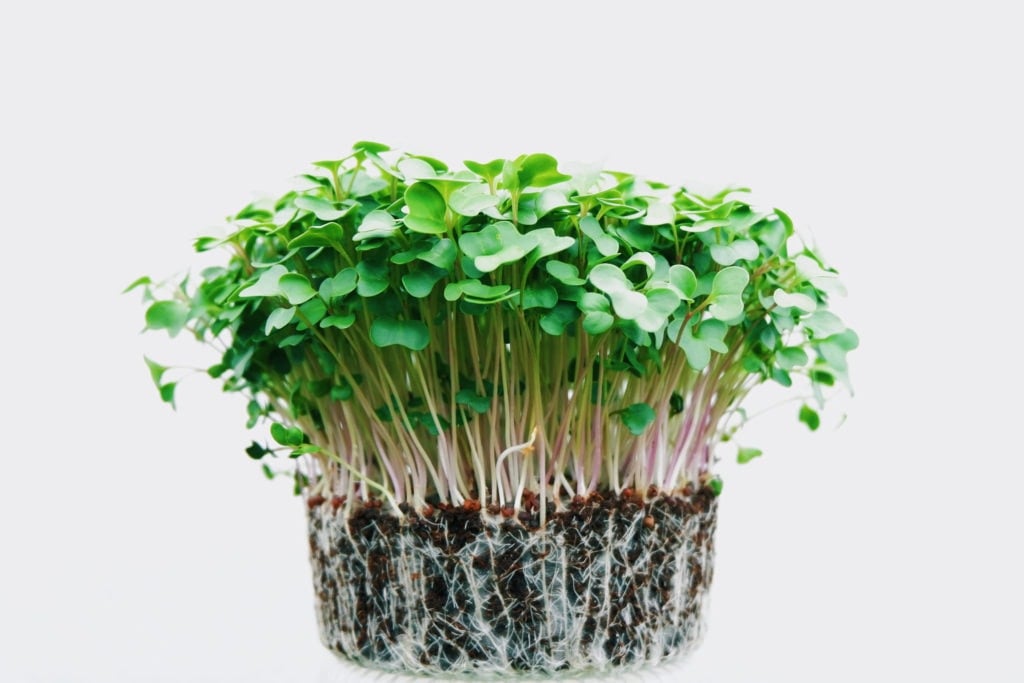
- Microgreens are typically grown in trays on top of grow media like seed-starting mix, coconut coir or grow pads. They also require natural sunlight or a light after they germinate.
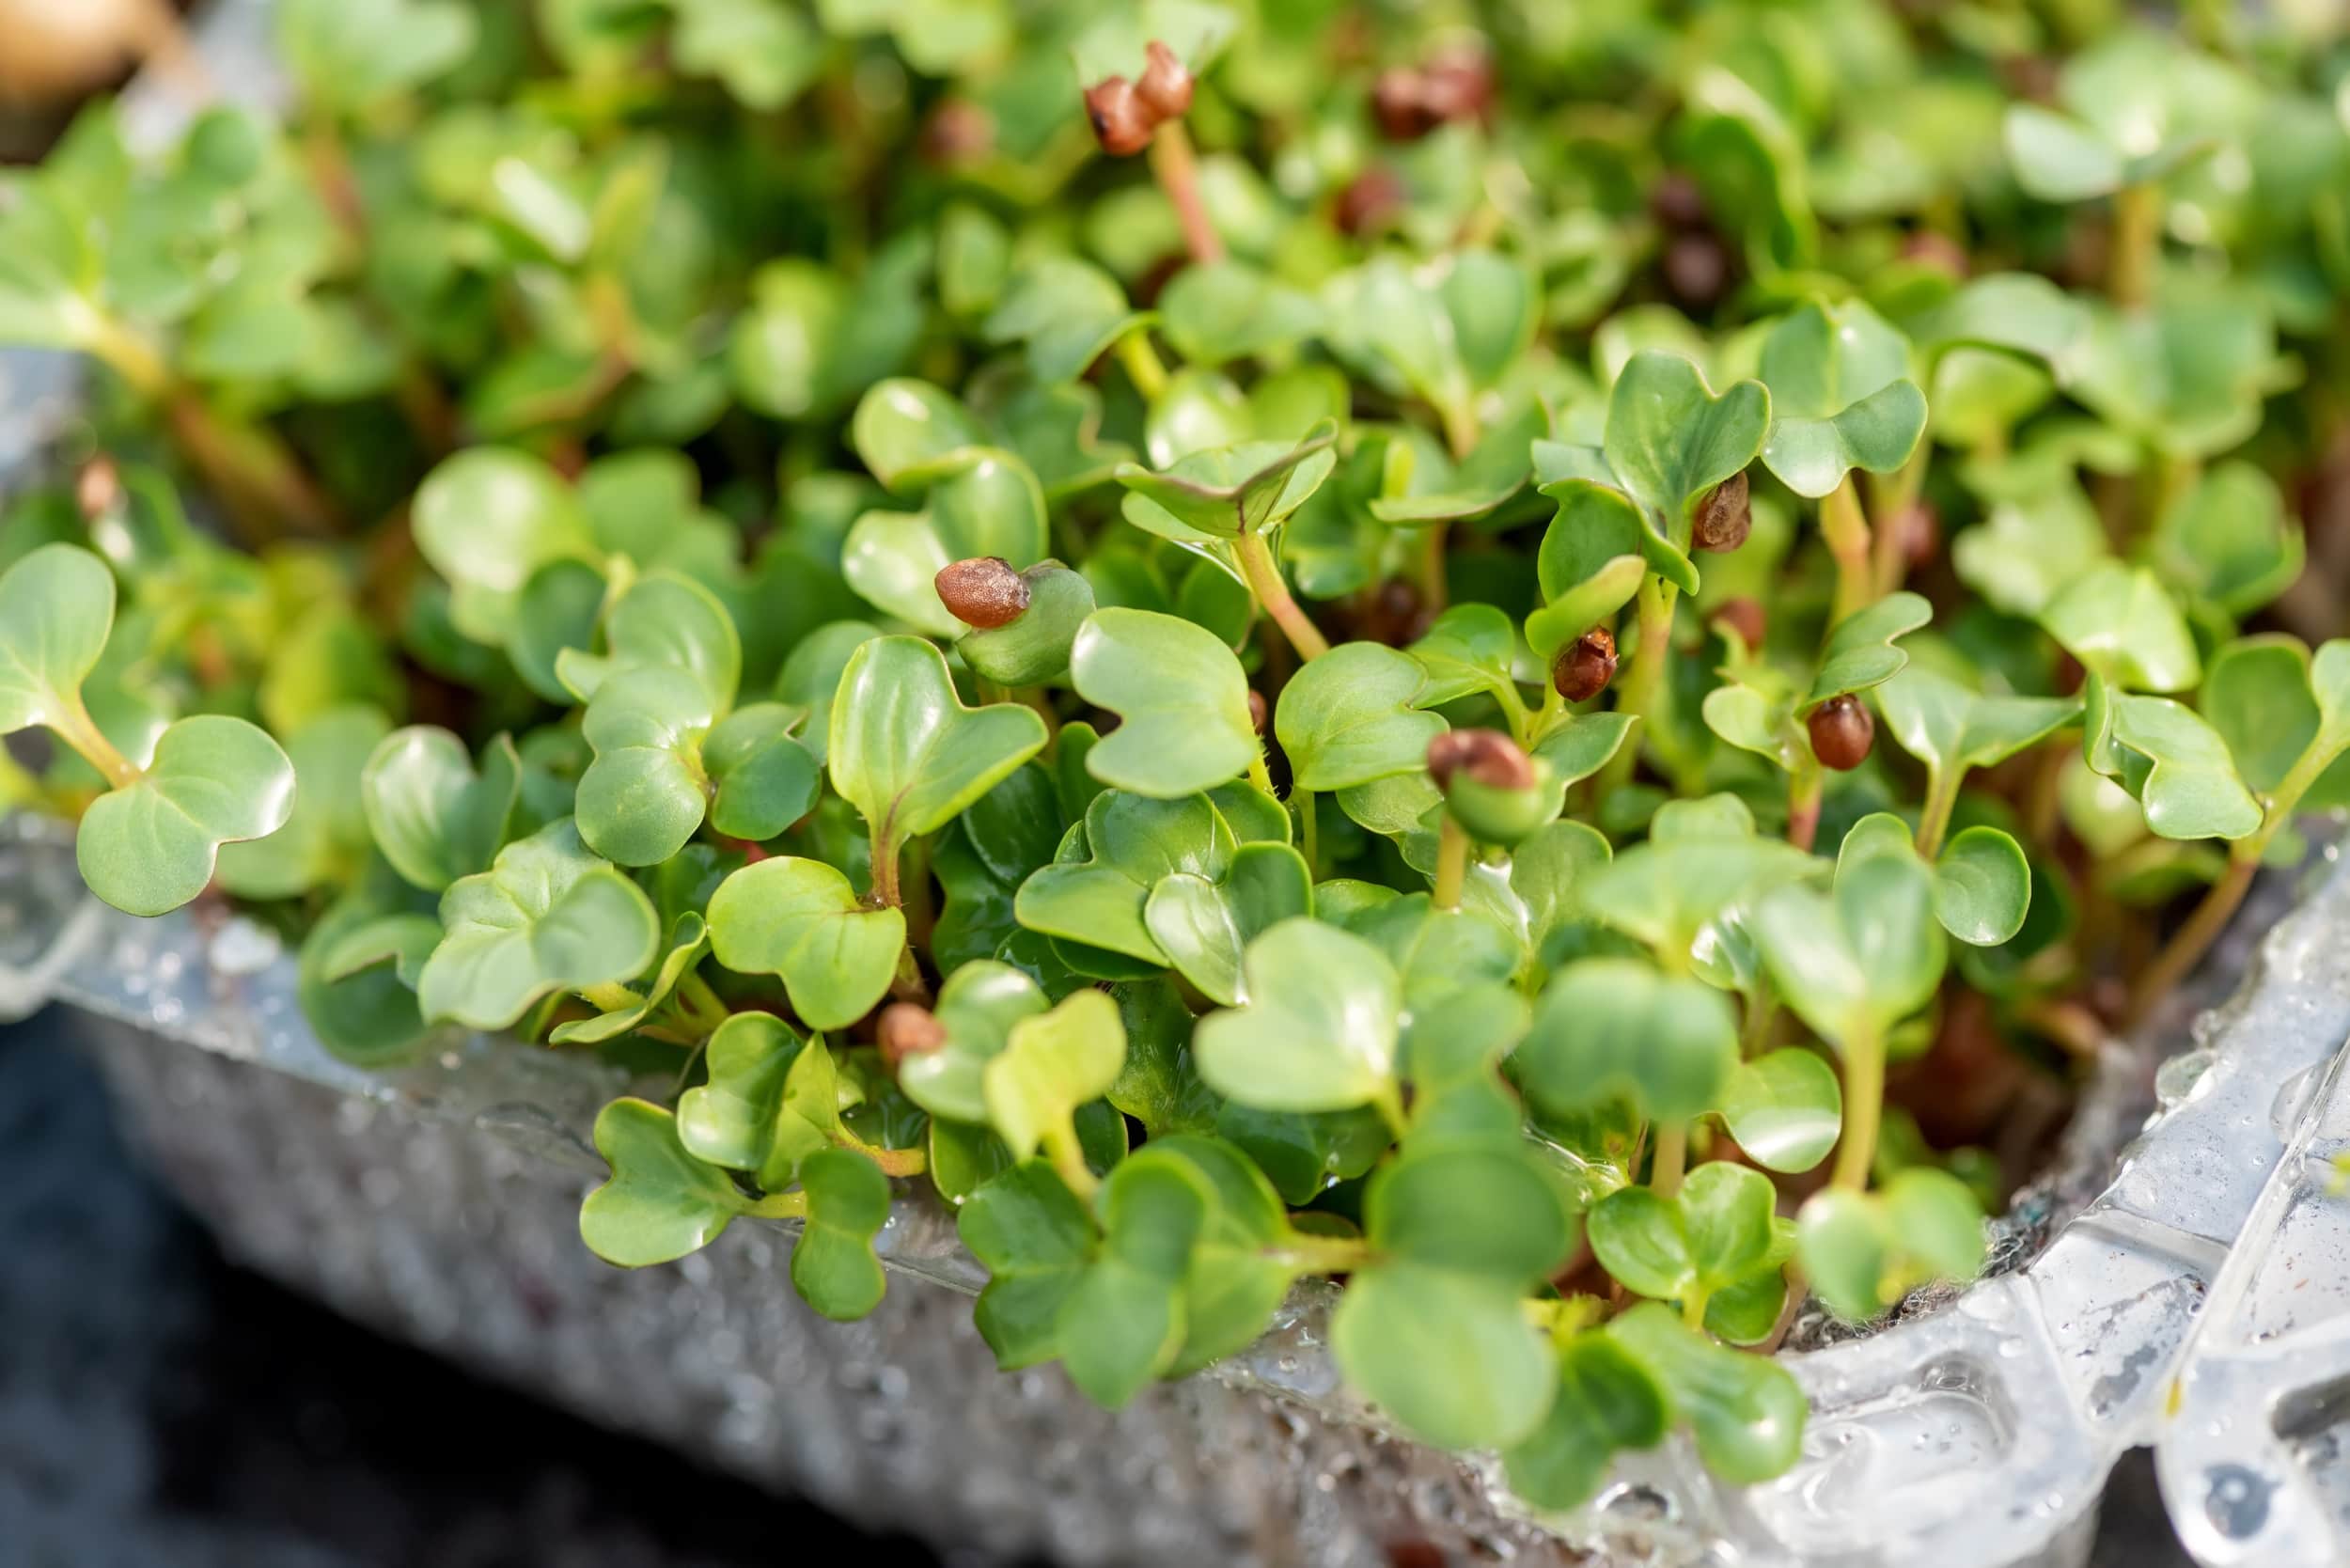
- Microgreens are eaten after the cotyledons (embryonic leaves) appear. You’ll be able to harvest microgreens in 1 to 3 weeks, depending on what you’re growing.

It’s also worth mentioning that you may grow sprouts if you prefer a crunchy snack. Personally, I grow both.
Growing Sprouts Indoors
Here’s what you’ll need to know to start growing sprouts quickly and safely.
Is It Safe To Grow Your Own Sprouts?
Sprouts can potentially carry bacteria that is linked to food borne illness. The issue originates on the seed itself. That’s why you should always take precautions with your seed supply and sprouting process.
Here’s how you can do that…
Seed Supply: Buy raw seeds for sprouting that are labeled as “certified pathogen free.” This labeling indicates the seeds have been tested for pathogens prior to sale. True Leaf Market is one of my favorite retailers for this type of seed.

Pre-Sprouting Process: Soak your seeds for 5 minutes in a solution of 3% hydrogen peroxide or vinegar and water. Discard the solution, rinse your seeds and continue with the sprouting process.
Sprouting Process: Use clean, sanitized equipment to sprout your seeds. (Make sure your hands are clean too.) Rinsing your seeds twice a day helps prevent bacterial growth as well. Always leave your sprout jar/tray in an open air environment, such as the top of a counter, so mold doesn’t have the chance to develop.
I regularly enjoy sprouts as part of a healthy diet as I feel the benefits far outweigh potential risks, especially since I follow safety practices.
Please do your own research on the risks and benefits before eating sprouts to form your own opinions.
Ultimately, by growing your own sprouts at home, you know where the seeds come from, how fresh the sprouts are and what’s coming in contact with your plants at all times.
What Are the Different Types of Sprouts?
You have a large range of vegetables, nuts, beans and grains that you can sprout to eat. Below, are some of the most popular sprouting seeds just to give you an idea. 🙂
- Alfalfa
- Broccoli
- Clover
- Sunflower Seeds
- Radish
- Garbanzo Beans
- Lentils
- Almonds
- Onion
- Soybeans

- Mung Bean
- Wheat
- Mustard
- Beet
- Fenugreek
- Green Pea
- Red Clover
- Spelt
- Chickpeas
- Amaranth
Growing Sprouts In A Jar
You’ll need some sprouting seeds to get started. These types of seeds come in all kinds of varieties of beans, nuts, grains and veggies.
Equipment is simple. It’s just a glass mason jar, a sprouting lid and a bowl that can hold your tilted glass jar. (Amazon affiliate links)
Alternately, you can buy a complete setup like this organic broccoli sprouting kit to get everything you need. (Kits are great if you don’t want to buy a whole case of jars.)
To sprout seeds, simply put some seeds in the jar, soak them overnight and then rinse them twice a day. You’ll have sprouts in about 5 days.
Here’s a tutorial, along with a video, that shows you how to grow radish sprouts.
Growing Sprouts In Trays
Besides jars, you can also use trays to sprout your seeds. The sprouting process is the same (i.e., soaking and then rinsing seeds twice a day). The only difference is that your seeds reside in covered trays until they’re ready to eat, which is usually within a few days.
You might use trays instead of jars because you can grow more food in the same amount of space. I use this stackable sprouter to grow three levels of sprouts at the same time.
Here’s a tutorial that explains how to grow broccoli sprouts in trays. You can also watch this process in the video below.
Growing Microgreens at Home
Microgreen seeds come in all kinds of varieties and even themes, depending on what you want to eat. For example, you can pick salad mixes, gourmet lettuce blends or choose your own options based on color, health benefits and flavor profiles.
The equipment varies, according to what you want to grow and how much you’d like to produce. For instance, a soil-free microgreens starter kit includes a tray, lid, hydroponic grow pad, pH water tester and spray bottle. (I also recommend a grow light if you don’t have a sunny indoor spot.)
Your microgreens are usually ready in a couple of weeks. These seedlings will be anywhere from 1 to 3 inches tall, depending on what you’re growing.
Here’s a page that walks you through an example microgreen sprouting kit setup and demonstrates this growing process in detail.
Note: Microgreens don’t have the same potential health concerns as sprouts because the seeds germinate in growing media, and you’re eating the stems and leaves.
Different Types of Microgreens
You have a huge selection of edible microgreens you can grow. This is just a sampling of microgreens to get you started.
- Arugula
- Cilantro
- Swiss Chard
- Corn
- Carrots
- Beets
- Lettuce
- Basil
- Cabbage
- Amaranth

- Sunflower
- Peas
- Broccoli
- Radish
- Kale
- Leek
- Kohlrabi
- Nasturtium
- Mustard
- Brussels Sprouts
Check out TrueLeafMarket.com – Microgreens Seeds, Kits & Supplies
How To Store Sprouts and Microgreens In the Refrigerator
After you harvest your sprouts and/or microgreens, rinse and then dry them using a paper towel or salad spinner.
Put your dry sprouts and microgreens in a plastic bag or container and refrigerate.

If your sprouts and microgreens are still damp, poke a few holes in the bag or don’t completely close the container to allow for better airflow.
You can also line the bag or container with a paper towel to continue soaking up the moisture.
They are best eaten within 7 days after harvest.
How To Eat Microgreens and Sprouts
Sprouts and microgreens are typically eaten raw. A common way to eat them is in salads, or you can make them the whole salad.
Here are some other ways to enjoy them:
- Sandwiches and Wraps
- Pizza Topping
- Soup Topping
- Smoothies and Protein Shakes
- Taco Topping
- Salad Dressings and Guacamole
- Rice
- Egg topping
There are endless ways to eat microgreens and sprouts. In my opinion, they taste like their adult counterparts except the flavor is more concentrated. (Cilantro is my fave!)

Indoor Gardening Tips
After producing sprouts and microgreens once or twice, you’ll quickly discover how often you’d like to eat them. The best part is that you can easily start them whenever you’d like because these veggies aren’t tied to a specific growing season.
Smaller Harvests
For sprouts, start with one quart jar and see how quickly you and/or your family eat them. (Again, they’re best if eaten within 7 days of harvesting.) Start another jar when you’re about halfway through the first batch of sprouts to keep a constant supply.
With microgreens, you can start with a mini growing kit like this one to see if this works for how you plan to eat them. This will be a small amount, but it’s a quick way to try out microgreens before going on to produce larger batches.
 Mini Microgreens Growing Kit on True Leaf Market
Smaller harvests work well if you already grow other foods and just want to supplement what you already have.
This is also an excellent introduction to gardening because you can get some of those quick wins right away. When you’re ready, you can grow other foods to maturity — like peppers — because you’ll likely be bitten by the gardening bug.
Larger Harvests
Start two sprouting jars at the same time and go from there. Or, use a multi-level sprouting tray to grow more sprouts and/or different varieties at one time. (These trays are great for producing more food, but not taking up additional counter space.)
 Stackable Tray Sprout Garden on True Leaf Market
For microgreens, a sectional kit like this is an ideal way to grow multiple varieties at once. You can also start multiple 10 x 20 growing trays if you have the light for them.
 Sectional Hydroponic Microgreens Growing Kit on True Leaf Market
Final Thoughts
It’s important to be able to feed your body the way that you choose. Growing your own food gives you the freedom to do this.
When I was initially planning this microgreens and sprouts section, I was doing it because I want to help a lot of people.
For example:
- The health conscious person who can’t start a traditional veggie garden (e.g., you’re too busy, don’t have the outdoor space, don’t want to get dirty, etc.)
- Someone who doesn’t live in an area with a good selection of organic produce
- The person who just wants to be more self-sufficient
And, then life happens. At the time of this writing, many of us are staying indoors because of the coronavirus. I thought it was important, now more than ever, to publish this information. (I wish you and your family health and happiness!)
Ultimately, I believe it’s important to bridge the gap between wanting to eat healthy and being able to get access to the foods that support that.
I know it can be challenging when you’re just starting out…
That’s why I hope this beginner-friendly section on how to grow vegetables indoors really helps. Sprouts and microgreens are something everyone can grow right away. (Caution: gardening can be addicting! 😉 )
More Posts On How To Grow Vegetables Indoors:
- How To Grow Radish Sprouts In A Jar (In Just 5 Days!)
- Can You Grow Microgreens Without Soil?
- How To Grow Broccoli Sprouts In Trays and Get Lots of Food with Very Little Space!
- What Exactly Are Microgreens? (And, Why You Should Grow Them)
- How to Grow Microgreens Indoors: A No-Fail Guide for Black Thumbs

