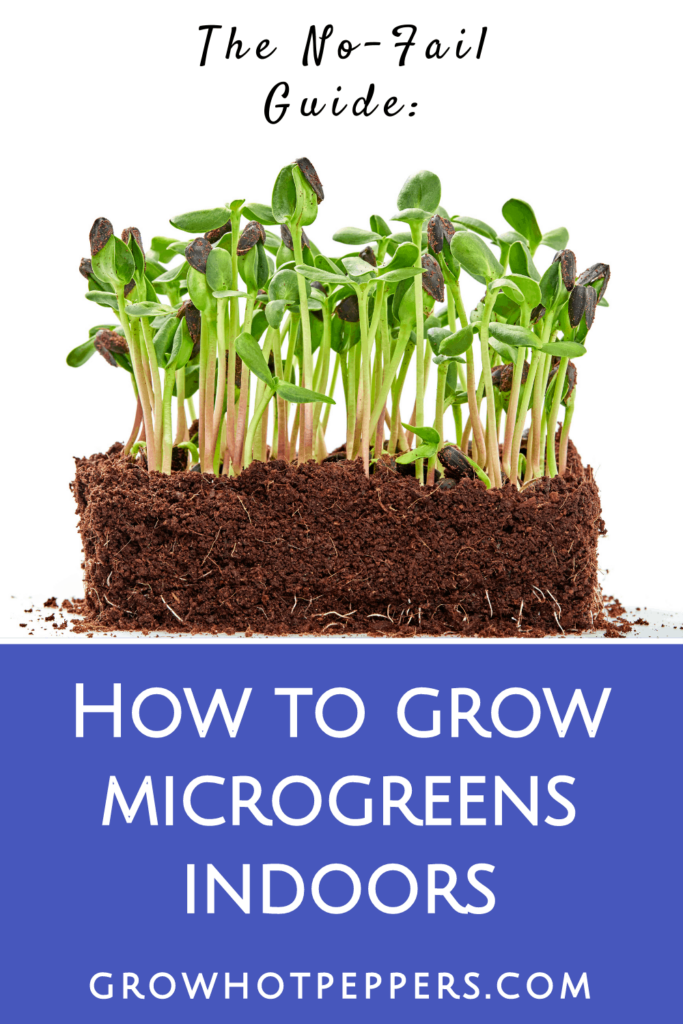
Learning how to grow microgreens lets you enjoy seriously nutritious food in less than two weeks. It also happens to be of the best indoor plants for black thumbs! Here’s a no-fail guide to set up you for success (includes PDF on planting microgreen seeds.)
Ever have this happen: You get a plant (or seeds) and do your best to take care of it. Despite all your heroic efforts, things go downhill fast, and your plant dies. Even worse, this might have been one of those “easy” crops. Ugh!
Well, even “easy” veggies can die.
The gardening learning curve is real. That’s why you might mistakenly believe you have a “black thumb” or unfairly start labeling yourself a “plant killer.” (You don’t, and you’re not!)
So, back to microgreens.
Microgreen growing is an awesome solution if you want nutrient-dense food that cuts down the learning curve. These baby greens are some of the same veggies found in salad gardening. A huge perk is just how fast you can eat them.
Sounds good, right?!?
Whether you have a black thumb or a green thumb, I hope you get a lot of value from the information in this guide.
What Are Microgreens?
If you came from this post, you know all about microgreens. Here’s a rundown for those who are new…
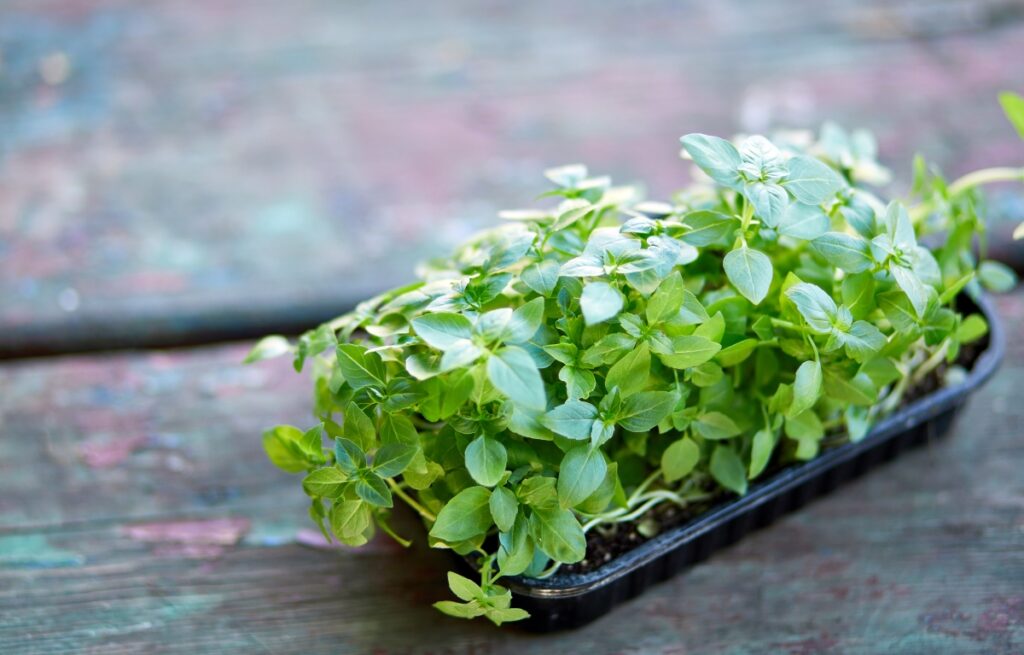
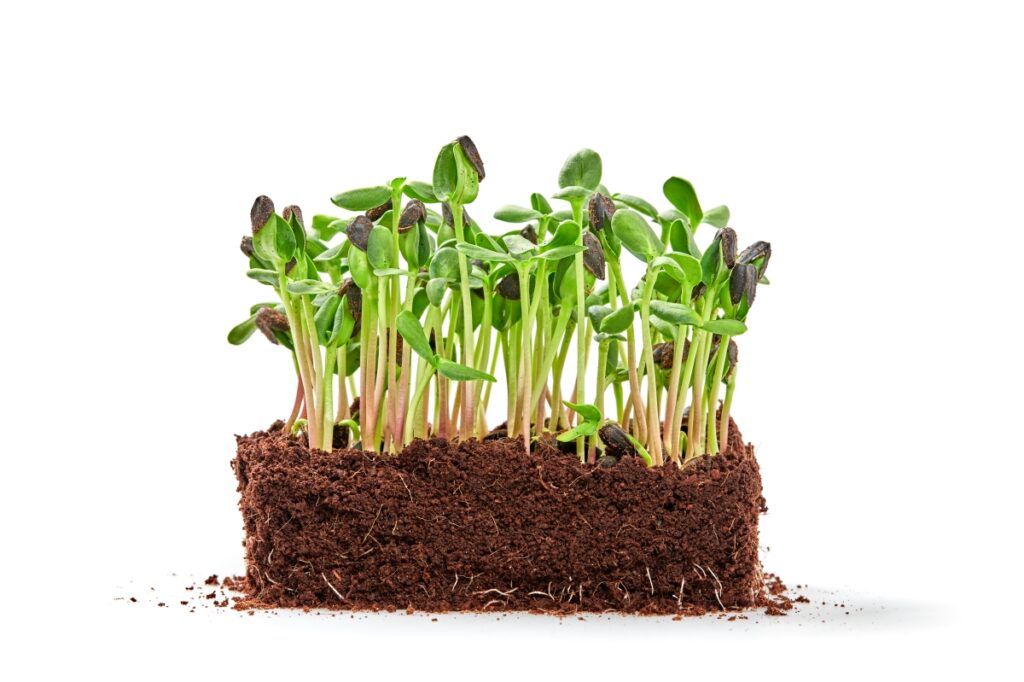
As the name suggests, microgreens are little, edible plants that are harvested in the seedling stage (usually 10 to 14 days). These youngins include leafy veggies, herbs, and edible flowers like kale, basil and sunflower.
You may find these curious mini-plants topping your plate at a restaurant. (They’re not just a garnish! 😉 ) Oftentimes, you can also buy them at farmer’s markets still growing in containers.
A lot of microgreens taste like their adult counterparts. The flavor may be even more concentrated at this early stage. (Btw, if you like cilantro, the taste of this microgreen will blow your mind!)
And, the flavor isn’t the only thing that’s more intense. Microgreens are extremely nutrient-rich. This is another key reason why people choose to eat them.
Benefits Of Growing Microgreens
Learning how to grow microgreens at home has major advantages. Namely, microgreens are perfect for the beginner gardener (or black thumb) because they don’t have as many requirements as other veggies.
Here are some other reasons to grow them:
- Microgreens can grow in small spaces. If you’ve got room for a tray, you can grow microgreens.
- You can grow microgreens any time of the year. Plus, you can grow them indoors or outside.
- Soil isn’t necessary for growing microgreens. You can use other options like hydroponic pads or coconut coir if that’s what you prefer.
- You’ll have nutritious, living food in a matter of days. (I love starting my pepper plants from seed, but that’s at least a 6+ month commitment before I ever get any chillies!)
- The cost is minimal. You also don’t have to put in a lot of time to end up with an abundance of tasty, nutritious food.
Microgreens vs Sprouts
Microgreens and sprouts have a lot of similarities, but there are notable differences between the two.
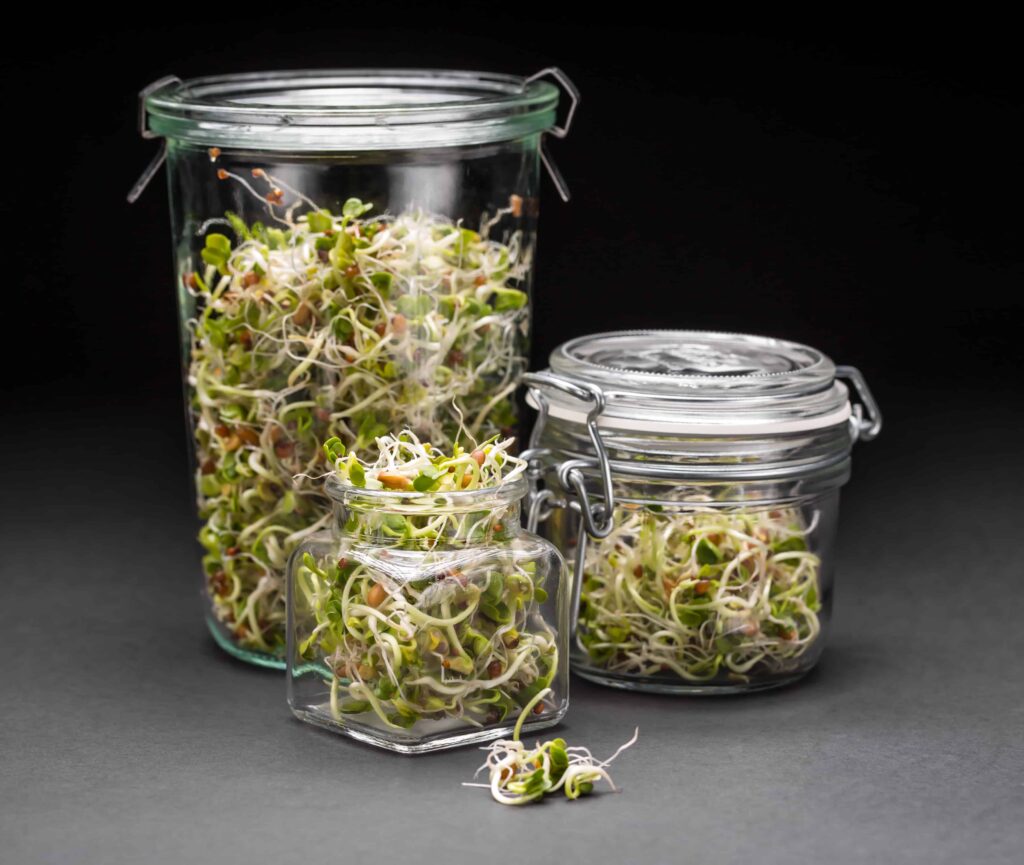
First, sprouts and microgreens are harvested at different growth stages. Sprouts are germinated seeds, and they’re ready for eating in just a few days. Microgreens, on the other hand, are harvested in the cotyledon stage after the true leaves appear (usually up to 14 days).
Next, the growing environment for sprouts and microgreens differs too. Growing sprouts typically involves a jar and water. They don’t need trays, growing media — such as soil — or light like microgreens do.
Related: How to Grow Sprouts In A Mason Jar
Ultimately, microgreens and sprouts are both extremely nutritious and ideal for fast, year-round growing.
Types Of Microgreens
The list of edible microgreens seems to be growing. I mentioned that varieties span leafy greens, herbs and edible flowers.
That’s not all.
Microgreens can also come as grains, legumes, grasses and root veggies.
Easiest Microgreens To Grow
There’s that word again (easy), and it means something different to all of us. 😉
What I mean by “easy,” is that certain microgreen seeds don’t need any presoaking or special growing considerations. Essentially, just plant and go.
Here are some examples:
- Salad Mix
- Chia
- Broccoli
- Cauliflower
- Amaranth
- Curly Cress
- Arugula
- Cabbage
- Basil
- Tatsoi
Fastest Growing Microgreens
Typically, microgreens grow within 10 to 14 days. Certain varieties can be ready for harvest even sooner.
For instance:
- Clover
- Kale
- Mizuna
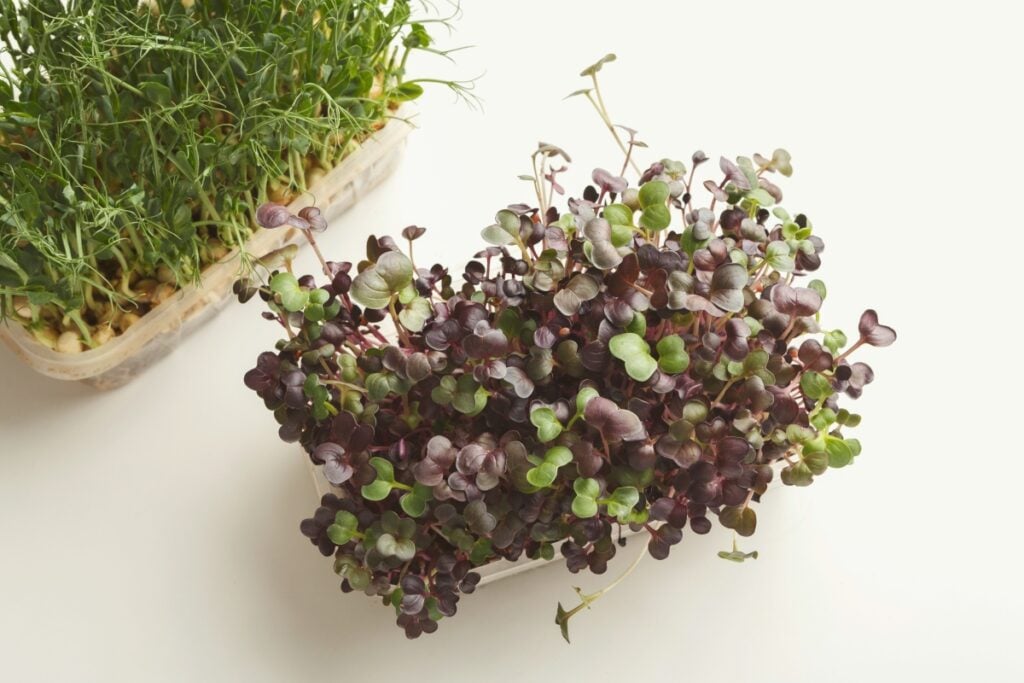
- Radish
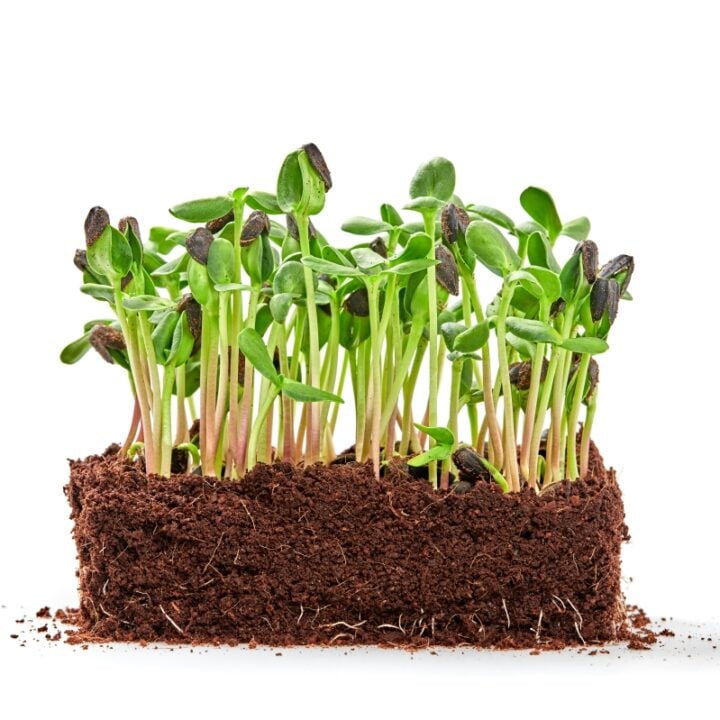
- Sunflower
- Peas
- Pak Choi
- Fenugreek
- Mustard
- Endive
What are the best types of microgreens for beginners?
You can pick micro greens from the “easiest” or “fastest” lists; however, consider what flavor profiles you like best. They all range in taste and textures.
For example:
Spicy microgreens include varieties like mustards, arugula and radish microgreens.
For mild microgreens, pick options like kohlrabi, chard and lettuce microgreens.
For nutty microgreens, try sunflower shoots, fava bean and clover.
Best Seeds For Microgreens
When it comes to growing in general, I recommend using certified organic, non-GMO seeds.
You can grow microgreens from the same seeds that you use to grow herbs, edible flowers, veggies, etc…
I like purchasing seeds specifically designated for microgreens. Not only are these varieties beginner-friendly, but vendors create special mixes that have certain flavors, colors and nutrient profiles.
Keep in mind that microgreen seeds are a densely planted crop. If you sow them in a standard 10×20 growing tray, it’s helpful to purchase larger quantities of seeds at a time. It’s also more cost-effective.
MICROGREENS SEEDS
True Leaf Market is my favorite microgreen seeds vendor. They have a huge selection of quality, organic seeds and supplies.
check out TRUE LEAF MARKET
How To Grow Microgreens At Home
You have a lot of options for growing microgreens at home. To start, here’s a simple microgreens setup that uses soil as the growing medium.
Supplies For Growing Microgreens
- Seedling Tray (2): You can grow microgreens in a small plastic container or just about anything that can hold growing medium and seeds. A common option is to use (2) 10×20 seedling (plant) trays without holes in the bottom. One tray holds the potting soil and seeds, while the other seed tray acts as a blackout dome that helps retain moisture.
- Microgreen Seeds: Certified organic, non-GMO seeds are the best choice. You can buy special microgreen mixes from places like True Leaf Market. Alternately, choose individual, beginner-friendly varieties like cabbages and mustards on Amazon.
- Seedling Mix: An organic, seed starting mix is ideal for microgreens because they contain the right environment to germinate seeds. You can also use a potting mix, such as FoxFarm, that doesn’t contain large particles like wood chips.
- Spray Misting Bottle
- Microgreen Grow Light: You may not need a grow light if you have a sunny, south-facing window that provides at least a six hours of sunlight a day. If you don’t, use an indoor plant light like a T5 fluorescent or an LED light.
- Plant Heat Mat: If your growing area is less than 70 degrees Fahrenheit (21 degrees Celsius), you’ll need a plant mat to provide heat to your seeds.
Tray Note:
- Seedling trays also come with holes so that you can water your plants from the bottom. (I’m using the version without holes in the planting steps.) You may want to grab a set of trays with holes so you can try both watering techniques and see which one you prefer.
MICROGREENS STARTER KIT
You have the option to buy a microgreens grow kit instead of getting all of these supplies individually. Kits have everything you need (except the optional plant light) to start growing a variety of microgreens. Very convenient!
How To Plant Microgreens
Before we get to the actual growing process, I want to point out a couple of things.
- Sowing microgreen seeds is different from veggies that grow into mature plants. You don’t space most microgreen seeds out. Instead, you plant densely to get a fuller crop. (That’s why I buy larger seed quantities at a time.)
- Some seeds need to be soaked before planting. Others can be planted as-is. Sunflower microgreens and pea shoots, for example, need to soften up first. (The microgreen seed packet usually has this planting information.)
In this demonstration, we’re growing broccoli microgreens. (There’s no need to presoak broccoli seeds.)
Steps:
First, pour water into the bottom of a microgreen tray where your soil and seeds are going. (If using a 10×20 tray, 2 to 4 cups of water is a good measurement.)
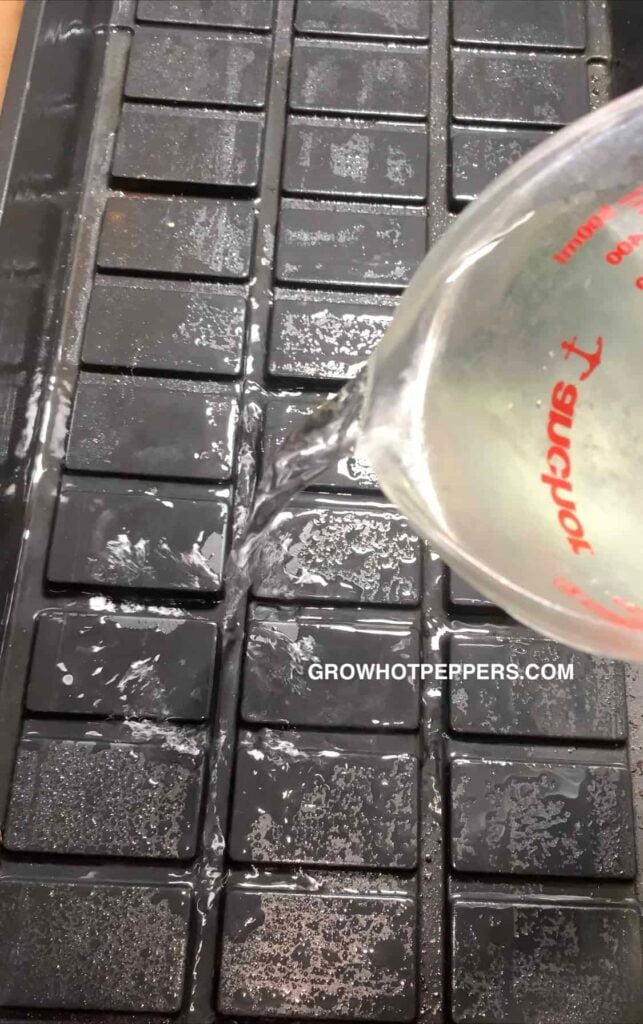
After adding soil, the water wicks up from the bottom and begins creating the damp — not soggy — moisture level you need to grow microgreens.
Next, add the soil so that it stops about a 1/2” inch from the top of the microgreen tray. (This makes for easier, cleaner harvesting.) Spread the mix evenly over your tray.

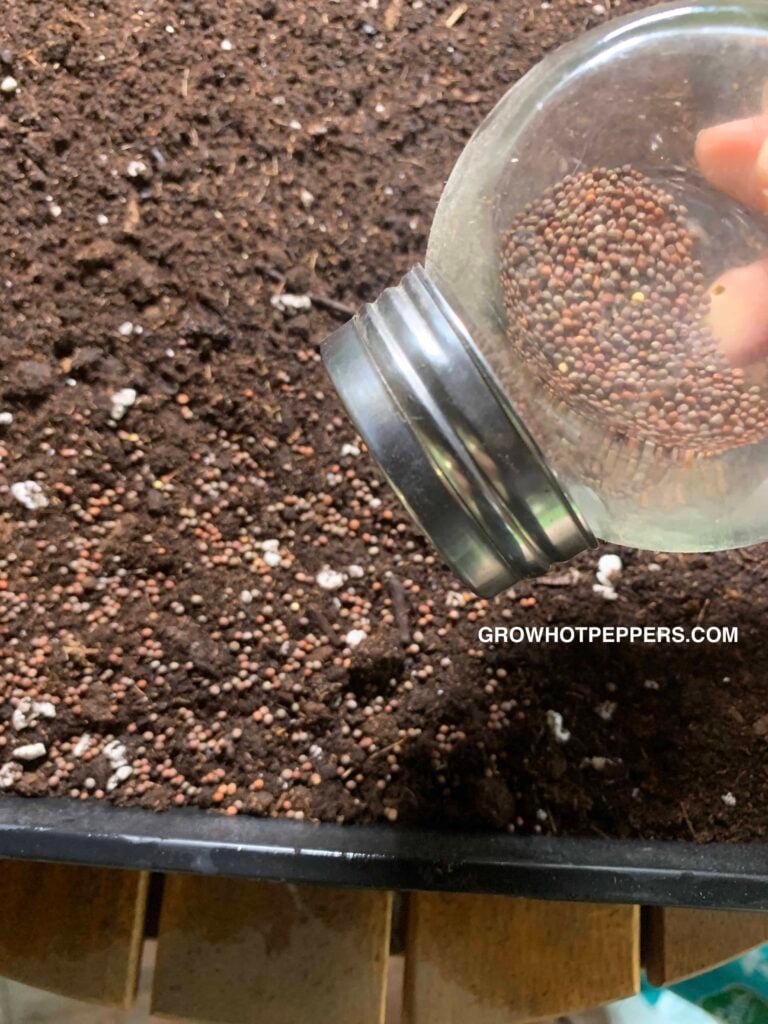
Continue by sprinkling your seeds — densely — over the top of the soil. You can do this by hand, or fill an empty spice bottle with seeds to make this distribution easier.
(I used a 1-ounce broccoli seed packet to fill the 10×20 tray. These are the same seeds I use to grow broccoli sprouts.)
Follow by lighting misting the top of your seeds with a spray bottle. This helps get the seeds to settle, and it also kick-starts the sprouting process. (As a reference, I did about 20 sprays over the soil mix.)

Finally, put the other tray over the top (concave side up) to give your seeds the darkness they require to germinate. When your seeds sprout, you want them to struggle a bit past a barrier to grow stronger. (Hence the positioning of the top tray.)

How To Water Microgreens
Here’s a watering schedule you can use before and after your microgreens sprout.
Watering Microgreens Before Germination
When growing microgreens in soil, mist every 12 hours or so. Again, the top tray helps keep the mix hydrated.
Watering Microgreens As They Mature
Give your growing microgreens water only if the soil surface is no longer damp. (You don’t want a swampy environment where mold develops.)
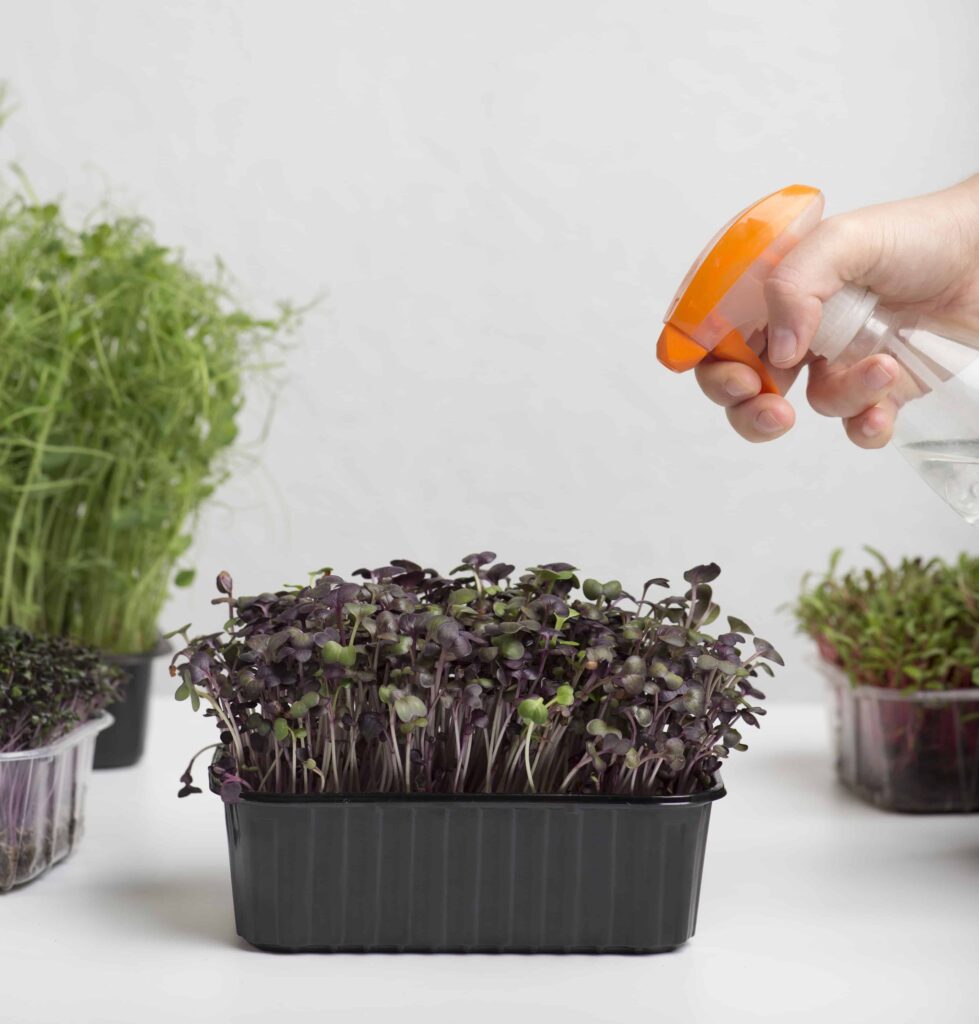
To water, continue to mist the soil line. Or, use a watering can, taking care not to get the microgreen leaves wet.
The watering frequency can be each day or every other day. Again, this depends on how damp the soil already is. For reference, I usually water every other night after the grow light turns off.
(Note: If you use a planting tray with holes, you can opt for the bottom-watering method. Essentially, you position the tray with holes in a solid tray, then pour water in the solid tray so that the moisture wicks up from the bottom.)
Best pH For Watering Microgreens
Microgreens do best with a pH level of around 6 to 6.5 (a little bit higher or lower is okay too). The right environment makes a difference in growth rate and yield. City tap water can run higher than the ideal level.
If you’re concerned about your water (or you’ve had problems growing microgreens in the past), you can use a litmus strip test to discover your pH. Balancing your water is a matter of using household acid, such as lemon juice, to get things corrected. True Leaf Market set up this page to explain how to do this.
Do Microgreens Need Warmth?
Unlike peppers, microgreens seeds don’t need as much heat to germinate. If your growing area is less than 70 degrees Fahrenheit (21 degrees Celsius), then put a plant grow mat underneath the bottom tray to help your seeds sprout.
When To Put Microgreens Under Light
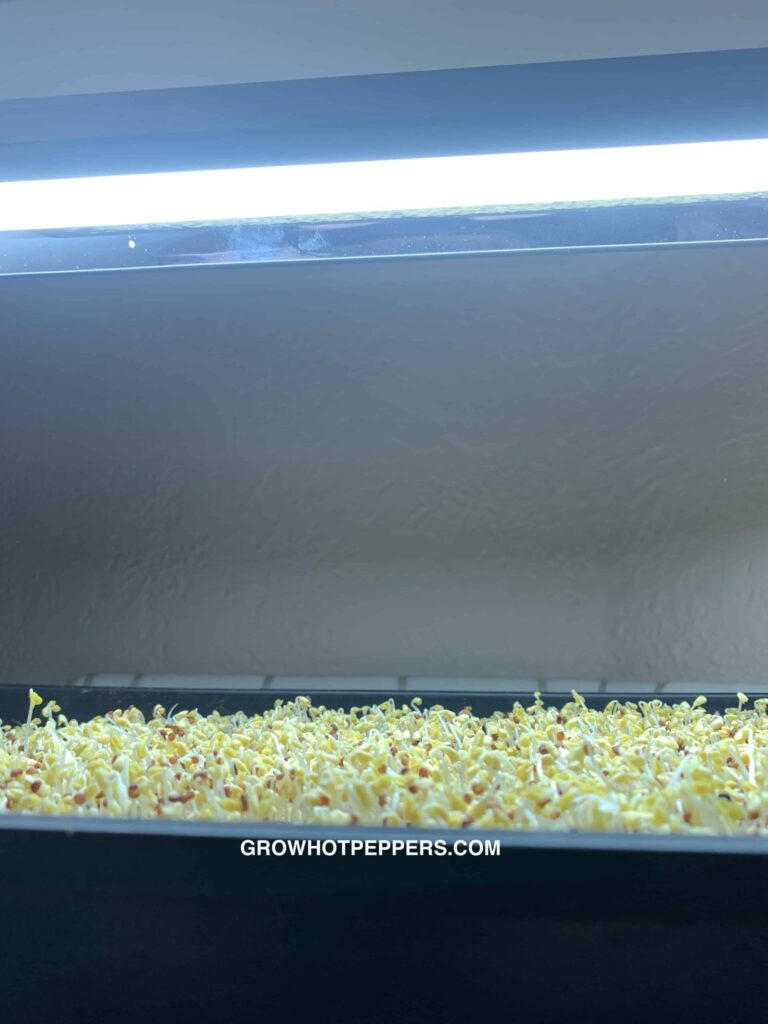
Somewhere between 3 and 5 days, you should see your seeds sprouting. That’s when you’re microgreens need a sunny area or a grow light. It’s also time to remove the plant heat mat (if using).
These broccoli microgreen seeds germinated in only 2 days. Yay! 🙂

(Sometimes I leave my microgreens under the blackout tray for an extra day just to make sure the tiny plants have a stronghold in the soil.)
You might be wondering:
- Why are the seedlings yellow? This is normal. Microgreens have been in the dark without the chance to photosynthesize. They will green up under the light.
- Why are these plants growing sideways? This may happen to some microgreen varieties, and it’s fine. The barrier (top tray) did its job by making your greens push past it. Your plants will straighten up with light.
Grow Light Positioning
Common grow lights include LEDs and T5 fluorescents. Each light has different height recommendations. (In other words, how far away the lamp should be from the tops of your plants.)
If using a T5, these lamps may typically be anywhere from 4 inches to 6 inches high. Your LED may need to be 12 inches above your plants.
In either case, it’s best to check the light manufacturer’s recommendations for the correct positioning.
How Much Light For Microgreens
One of the main benefits of using artificial light is that you can give your plants more light than they would normally get.
I like running my light for 16 hours on and then 8 hours off each day. You can experiment with a different schedule, such as 8 hours on and 16 hours off if you prefer.
Is This Mold On Microgreens?
As your microgreens grow, you’re going to notice some white fuzziness developing on the stems of your seedlings. These root hairs, or cilia, are normal.

Mold, on the other hand, has a grayish spiderweb appearance and is slimy to the touch. It can show up when the soil mix is too wet or there isn’t enough direct light and airflow. If necessary, run a small fan to help with air circulation.
(I just wanted to point this out so you don’t accidentally toss out a perfectly healthy batch of microgreens!)
How To Harvest Microgreens
One of the biggest questions by now is when to harvest microgreens. In general, microgreens are ready to eat in about 10 days. (Some may need a full 2 weeks, depending on the variety.)
More Signs That Microgreens Are Ready
- Wait for the first set of true leaves to appear. (These are the leaves that come after the cotyledon — seed leaf — stage.) Your plants will typically be about a couple of inches tall at this point.
- Determine the height at which you’d like to cut your plants. Microgreens are generally anywhere from 2 inches to 4 inches high at harvest. (Radish microgreens, for instance, typically grow up to 3 inches tall.)
- Start tasting your plants on different days. Harvesting fresh microgreens is a matter of personal preference, depending on what flavors you like best.
The Harvesting Process
I recommend using clean scissors to cut away microgreens above the soil line.
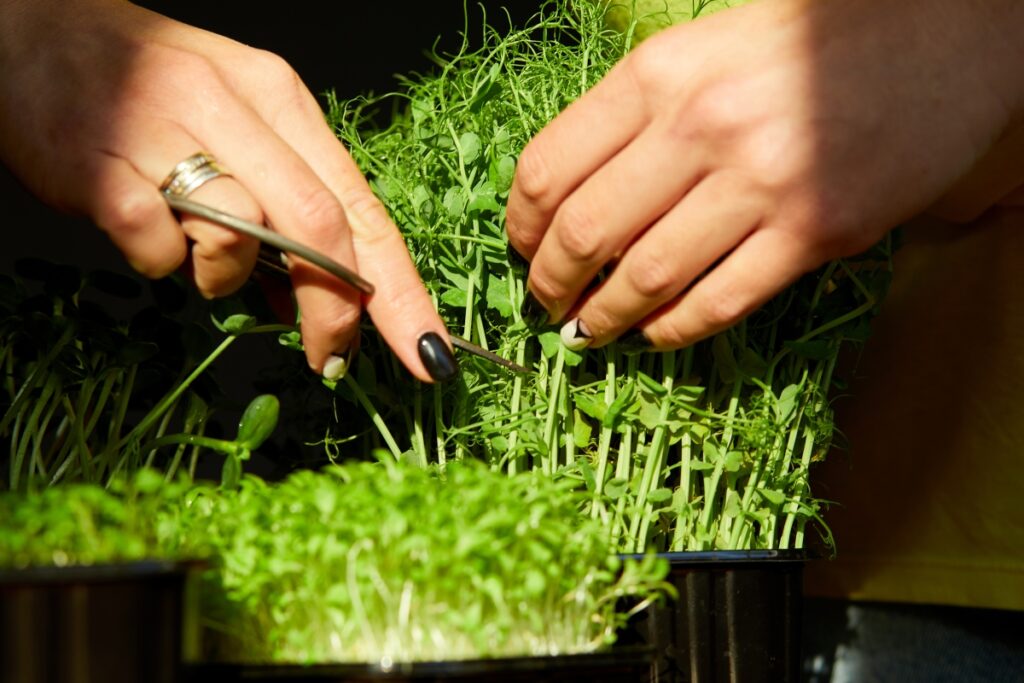
You can pull microgreens out by hand, but that’s messy! (I wouldn’t do it.) The soil comes out too, and you’ll have to spend time rinsing away the mix.
And, speaking of washing:
I don’t rinse my microgreens after harvest because I know exactly how these plants have grown. (Home gardening rocks! 🙂 ). If you choose to wash yours, rinse and dry them gently because microgreens are delicate.
How To Store Microgreens After Harvest
Microgreens need to be kept in the refrigerator if you don’t eat them right away.
Do this by gently placing your microgreens between damp paper towels. Put that towel in a sealable bag or container and then into the fridge. You can expect your microgreens to last about a week.
Do Microgreens Regrow After Cutting?
Except for some varieties like pea microgreens and wheatgrass, microgreens are not a cut-and-come-again type of crop. Once you harvest them, start new microgreens seed in a fresh batch of soil. (You can compost the old mix.)

Does Growing Microgreens Indoors Attract Bugs?
At some point, you may notice insects when you grow plants indoors. A common culprit is fungus gnats. (They look like little black flies.)
The issue is that soil and other types of growing media contain insect eggs. When you add water and heat, it creates the perfect environment for these eggs to hatch.
So here are two solutions:
- Add yellow sticky traps to your growing environment. Because you’re growing indoors, the traps won’t inadvertently catch ladybugs and other beneficial insects.
- Make an organic pesticide solution, and then spray your trays to kill any gnats that emerge from the soil.
(The spray I recommend uses neem oil, which is not listed as toxic for cats and dogs. This article by PetMD goes deeper into this topic.)
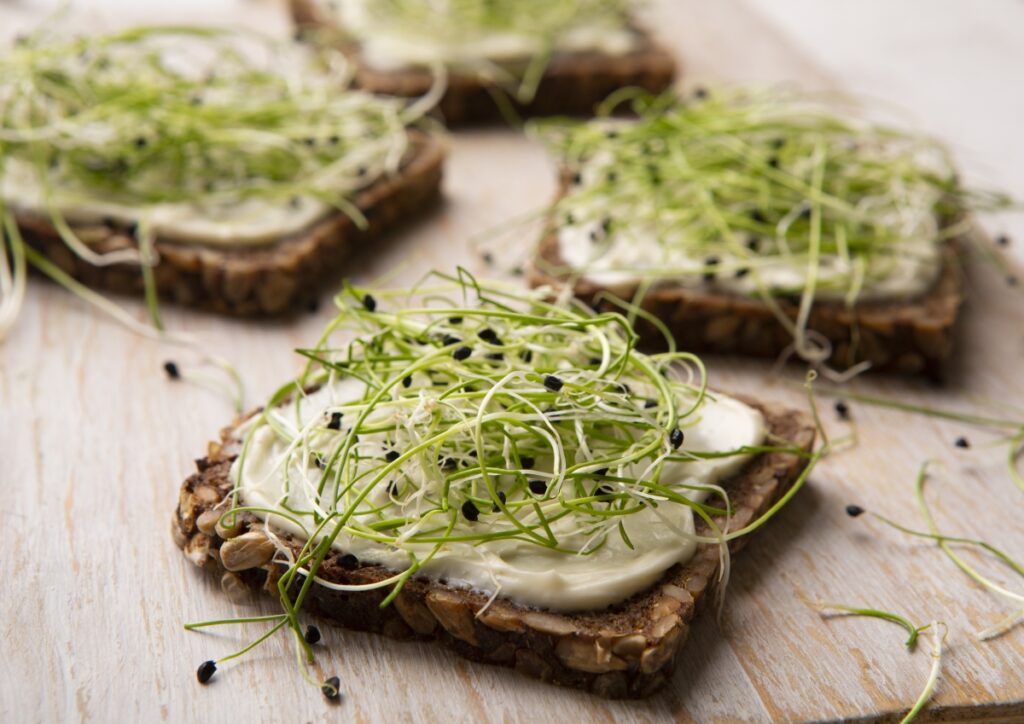
How To Eat Microgreens
There are no rules on how to eat microgreens. Just don’t cook them. These delicate plants are ready to eat in their raw stage, and heat will kill off some of that valuable nutrition and flavor.
Here are some common ways you can enjoy microgreens:
- Use them as toppings (e.g., salads, tacos, sandwiches, pizza, pasta)
- Blend them (e.g., smoothies, pestos, sauces, salsa)
- Juice them (e.g., wheatgrass and broccoli microgreens work well for juicing)
- Add them to adult beverages 🙂 (e.g., basil and cilantro are my faves)
I don’t have a microgreens recipe to share because I just enjoy them on the fly. Having said that, this microgreens cookbook is really good for learning creative ways to use them.
Microgreens Starter Kits
You can certainly piece together gardening supplies, but a grow your own microgreen kit is really helpful when you’re just starting.
Organic Microgreens Kit By Back To The Roots
This microgreens starter set by Back To The Roots is ideal if you want to start small or have a tiny space. This kit contains all the growing supplies you need, along with seeds ranging from broccoli, kale, purple kohlrabi and red cabbage.

Deluxe Microgreens Starter Kit On True Leaf Market
With this large microgreens starter kit on True Leaf Market, you can grow hydroponically and in soil. This is a great option if you want to try both ways of growing microgreens. You get everything you need including the grow trays, soil, hydroponic grow pads, assortment of microgreen seeds and instructions.

Microgreen Growing FAQs
Can you grow microgreens without soil?
How often should I water microgreens?
How much light do I need to grow microgreens indoors?
Final Thoughts
As a last note, gardening should be a relaxing activity and not something that leaves you feeling defeated. I sincerely hope this guide gives you a solid understand of how to grow microgreens and gets you excited about indoor gardening in general!
How to Grow Microgreens Indoors for Black Thumbs
Learn how to grow microgreens indoors with this step-by-step tutorial. Perfect for beginners, small spaces and people who believe they have black thumbs.
Instructions
- Pour water into the bottom of a tray where your soil and seeds are going. (If using a 10x20 tray, 2 to 4 cups of water works.)
- Add seedling or potting mix so that it stops about 1/2 inch from the top of the microgreens tray. Spread the mix evenly over the tray.
- Sprinkle your seeds -- densely -- over the top of the soil. You can do this by hand, or fill an empty spice bottle with seeds to make this distribution easier.
- Lightly mist the top of your seeds with a spray bottle to help them settle in and kick-start the sprouting process. (Spraying 15 to 20 times over the soil surface is good for a 10x20 tray.)
- Position the other tray over the top (concave side up) to give your seeds a dark environment to germinate. (This top tray also helps keep moisture in and offers a barrier that mimics what seeds would push through in a natural setting.)
- Optional: If your growing area is less than 70 degrees Fahrenheit (21 degrees Celsius), put a plant heat mat under your tray to provide warmth.
- Maintain your watering schedule as follows: Before germination,continue to mist the soil every 12 hours or so. After germination, water only if the soil surface is no longer damp.
- Give your microgreens light after germination. Position the tray in a sunny area or under a grow lamp. Also, remove the heat mat too (if using).
- Harvest your microgreens in about 10 days. (Some microgreen varieties take 2 weeks.) Use clean scissors to cut the plants away at the soil line.
Notes
- Some microgreen seeds need to be presoaked before planting. The seed packet usually has this information. (You can also download these cheatsheets.)
- Don't water so much that the soil is soggy. Mold can develop when the soil gets too wet.
- Microgreen seeds typically sprout within 3 to 5 days.
- After germination, microgreens need at least 6 to 8 hours of light every day.
- If using a grow light, be sure to check the manufacturer's recommendation for height. A T5 fluorescent, for example, is usually about 4 to 6 inches above the tops of your plants. An LED may need to be 12 inches high.
Recommended Products
As an Amazon Associate and member of other affiliate programs, I earn from qualifying purchases.
-
 1020 Heavy Duty Shallow Microgreens Growing Tray | No Holes - Reusable
 -
 Waltham 29 Broccoli Microgreens Seeds | Heirloom Seeds & Supplies
 -
 Espoma SS16 16-Quart Organic Seed Starter Premium Potting Mix
 -
 driew Plant Mister Spray Bottle, 10oz Plant Spray Bottle for Plants Misting Bottle Plant Water Spray Bottle Fine Mist Spray Bottle (Green)
 -
 VIVOSUN Durable Waterproof Seedling Heat Mat Warm Hydroponic Heating Pad 10" x 20.75" MET Standard
 -
 Hydrofarm Agrobrite FLT24 T5 Fluorescent, 2 Foot, 4 Tube Grow Light System, 2-Feet, Black
More Posts On How To Grow Vegetables Indoors:
- How to Grow Vegetables Indoors for Beginners: Sprouts & Microgreens
- Can You Grow Microgreens Without Soil?
- How to Grow Broccoli Sprouts In Trays and Gets Lots of Food with Very Little Space!
- What Exactly Are Microgreens? (And, Why You Should Grow Them)
- How to Grow Radish Sprouts in a Jar (In 5 Days!)